After much googling for the right size seven segment displays I decided to build my own. By using the plastic pieces from the original I would keep the same look and feel. Instead of using the old incandescent lights that constantly burn out and are specialty lights I went with LEDs. By using addressable LEDs each segment could display anything needed. The WS2812B/WS2812/WS2811 are the most common and will provide the about the same functionality. I settled on some WS2812 breakout boards each containing a single LED.

These use 5V power and a data line. The data should be at 5V but the 3.3V from the ESP32 will drive them for this application. Each LED is daisy chained from the last with data coming in DI and out DO. They are addressed in sequence as wired with the first being 0. With the LEDs ready I needed a way to mount them to the existing plastic shroud. After a few iterations in TinkerCad. I had a mounting plate ready.
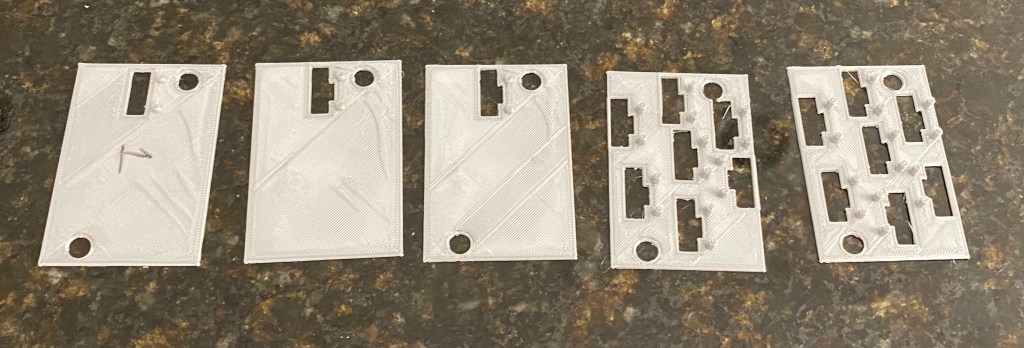

After soldiering the LEDs together and putting them in place on the mounting plate it was time to write some code. FastLED is a library that handles all of the LED control. With some extra code for lighting specific LEDs for a given number I had a working seven segment display.
With all this working it was time to move the electronics into the top of the machine. Until now they had been on the floor underneath the Skee-Ball machine. So I labeled and took apart all the connections. My wife was so happy to see me using her label maker. Organizing and labeling is one of her more favorite things. Afterwards I moved all of the wires and realized some of them that I thought I’d made long enough were in fact to short. So a found some other cables I had lying around to make extensions. With all of the wiring done I mounted the ball counter seven segment display and turned everything on. It was very satisfying to see the display on the game at least partial working. Now that this part is working it’s time to build the score displays. This should be pretty straight forward and use all the same code. The only real problem is that the numbers are to big for me to print mounting plates on my small 3D printer. Maybe it’s finally time for a new printer? My wife keeps asking me to print her some Mandalorian armor. Now I’ve got two excuses….
