Analog vs Digital. Mechanical vs Optical. What’s better? Video game controllers went from digital to analog and back to digital that pretends to be analog. What does that mean? I don’t know. I do know that mechanical analog switches in Skee-Ball machines are not accurate. After de-bouncing the mechanical switches and still having double or missed counts I decided to replace them all with optical switches. All modern Skee-Ball machines use optical sensors. IR reflective sensors currently used. These sensors have an IR LED and an IR photoresistor. When an object reflects enough of the IR light it triggers the photoresistor and outputs a high or low out of the sensor module. This signifies that an object is close enough to the sensor to be “detected.” The ones in use by new Skee-Ball machines are costly at around $33 per sensor. There is probably a reason for that but I’m cheap.
After some research on Digi-Key and lots of data sheets later I settled on TT Electronics OPB9001C. These are the 3.3v variant to match the logic on my ESP32 microcontoller. The first switch to be replaced is the ball counter. This is the easiest one to replace because it is wired as a single switch. All the scoring switches are wired in parallel and could introduce more complexity.
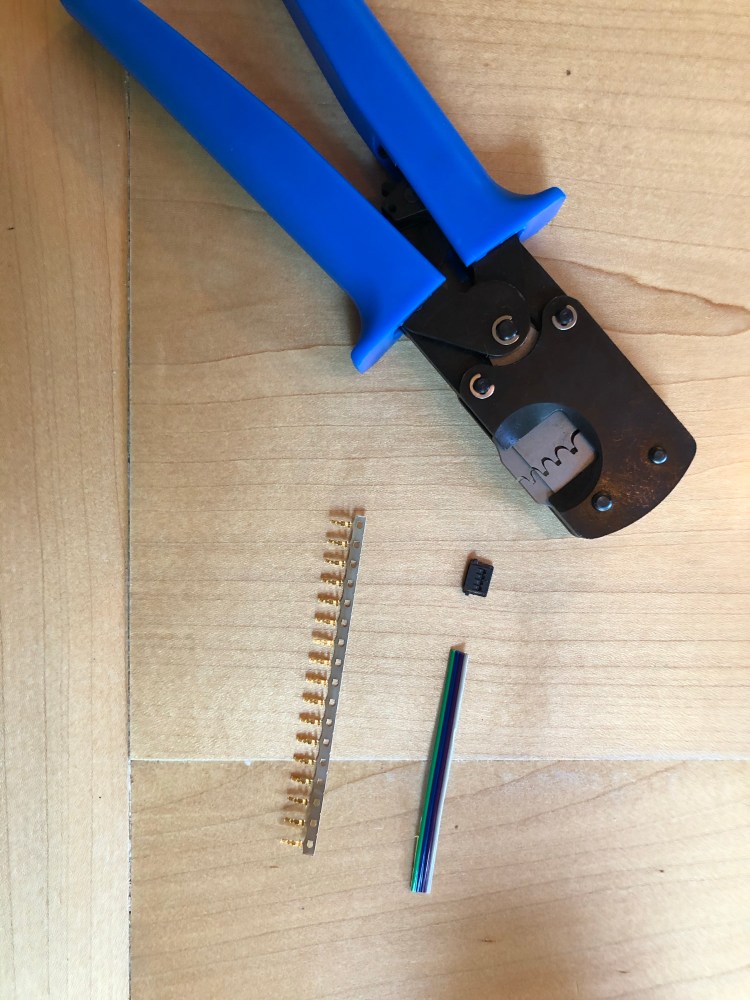
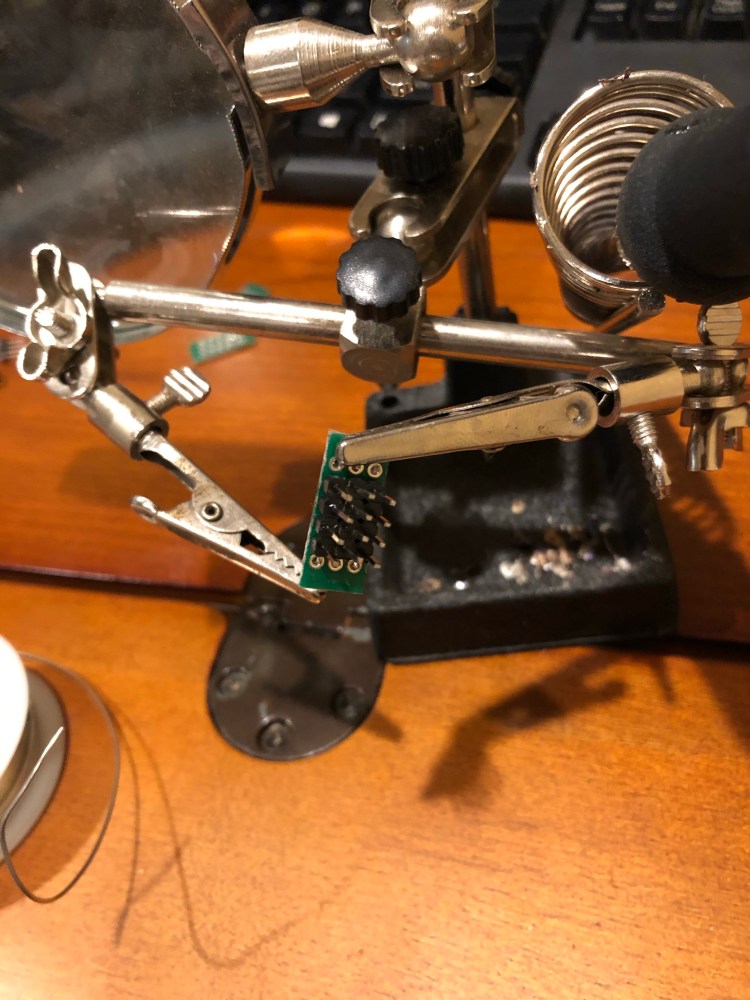
These modules use a very small connector for the signal and power cables. A Molex 5040510401 is the male side of the connection. There are also crimp connectors that are required to crimp to the wires. These also require a special tool for crimping. Molex asks about $450 for the tool. Amazon has third party ones for about $40. After going through all this work or finding the connectors, the crimp connectors, the crimpers, ribbon cable, and making these cables I found made pre-made assemblies. I wish i had seen these earlier. It would have saved an hour or two and been more reliable. It’s kind of like crimping CAT6 cables. You could do it but it won’t be near as good, probably wont be to spec, and will more than likely break. Oh well. Done now.
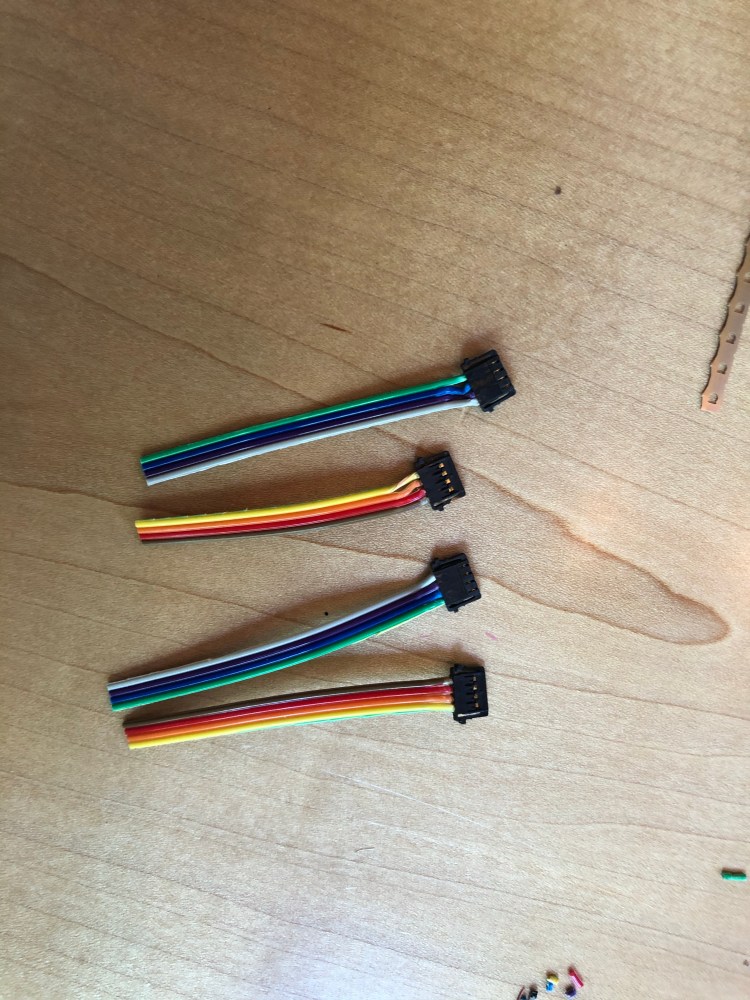
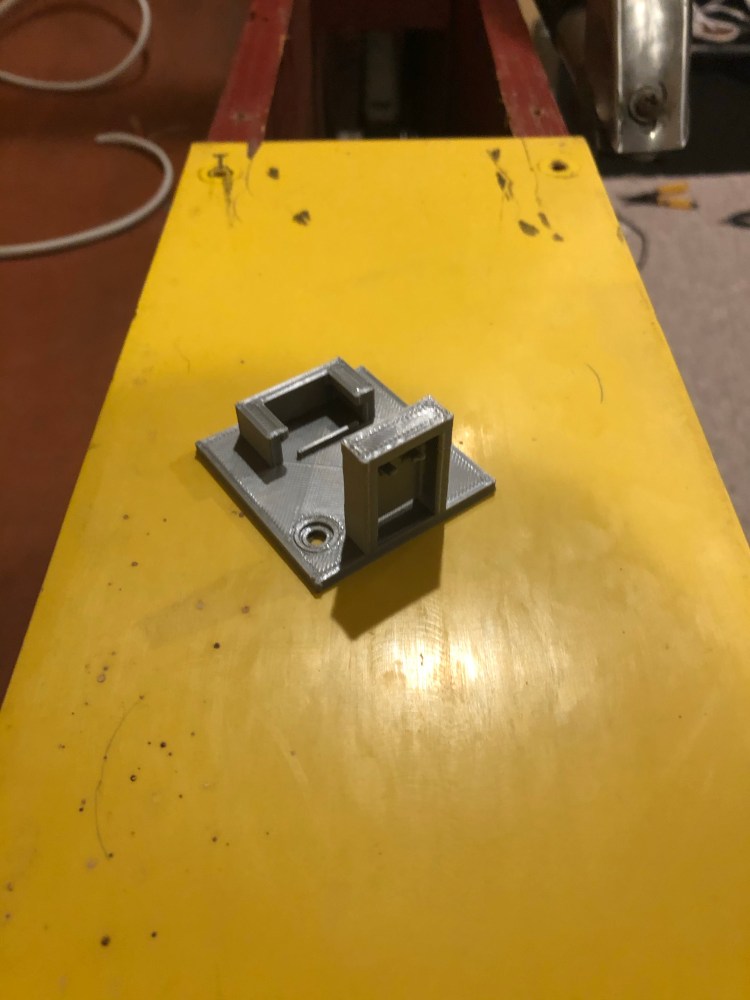
Now that all of these have wires on them they can be cabled up and tested. One problem with this is the optical modules obviously aren’t the same form factor as the mechanical switches. Luckily I have a 3D printer. A few years ago I bought a MonoPrice Mini Select 3D printer on sale fro $180 shipped with 1kg of PLA. I’ve really only used it for printing kids toys and fixing small appliance parts. Most of the things I’ve printed came from Thingiverse. The optical modules needed a custom mount to match the mounting holes in the Skee-Ball machine as well as a way to hold the module and a small PCB for cable connections. Autodesk makes CAD tools like Fusion360 which you can get as a hobbyist for free or TinkerCAD. I used TinkerCAD for this because it was easier to use on my laptop.
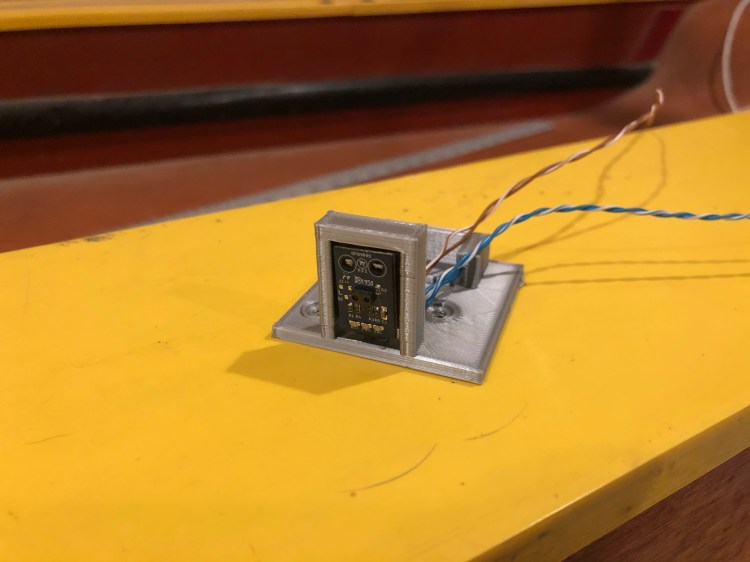
After printing and wiring all of the holders and sensors I needed a way to hook them all together. I soldered some female headers on to the sensor wires and jumper cables for the scoring sensors. The jumper boards allow for connecting the sensors together for scoring. Once these were all completed I wired everything up and tested it.
During testing it was obvious i didn’t read the datasheet before building everything. The sensors have a LED to show when something was detected. As I hooked up all the sensors I noticed that when one detected something they all lit up. This was using all of the signal to light the LEDs and not triggering the logic on the controller. After some thought and a lengthy shipping delay i got some switching diodes to put in front of the signal line on each module. I soldered these to the jumper boards and solved that problem but another cropped up. The sensors read high when nothing is detected. With all of them wired in parallel there was not a reliable way to detect the slight voltage drop when one went low.
So now with haven gotten this far I need more parts. A PNP transistor in front of the sensors should allow the state change to show on the micro controller. Now to wait for shipping again.
